Preparing for the Geiger Cardigan, I knitted two swatches. One was based on the Lower Left Sleeve Chart (page 24), and one used the Upper Left-Leaning Cable Chart (page 21).
This post will give instructions for these two different swatches and will show how I measured gauge.
NOTE: The page numbers in the PDF that I downloaded from Ravelry are different from the page numbers in the printed version you may have purchased from your local yarn shop. When in doubt refer to the title text, not the page number.
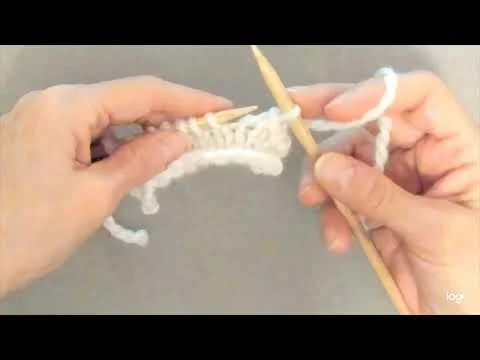
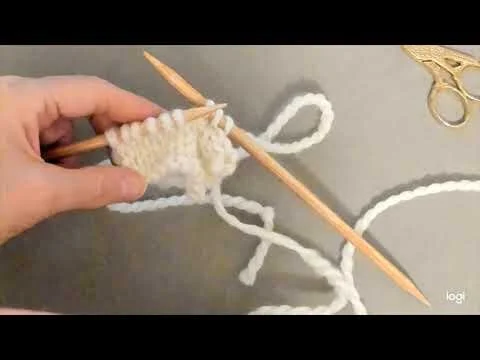
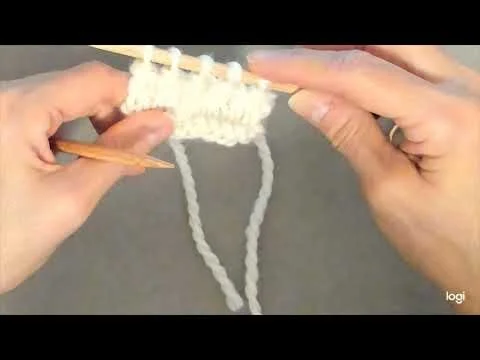
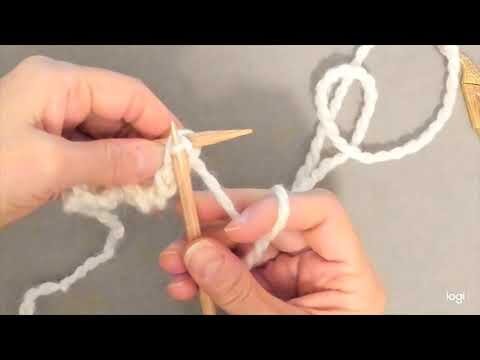
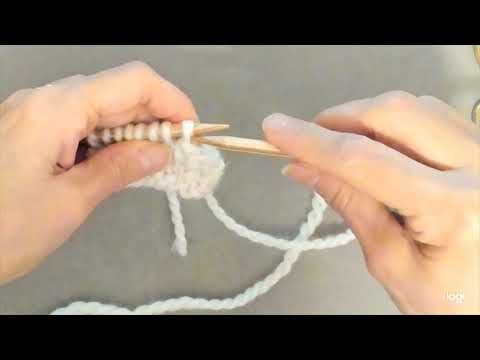
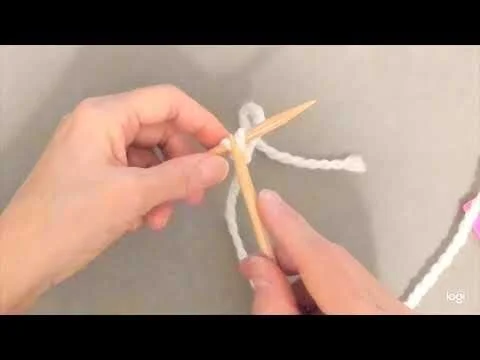
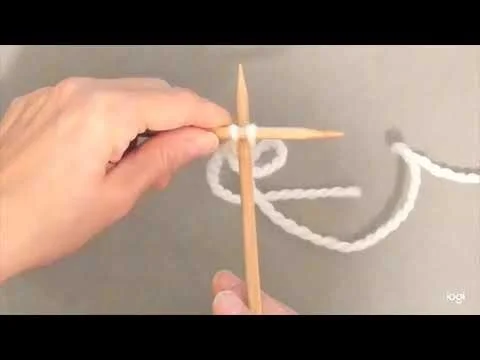
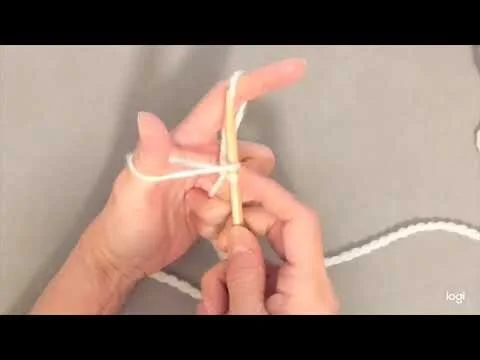
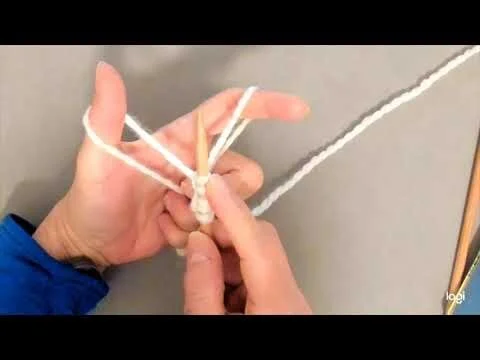
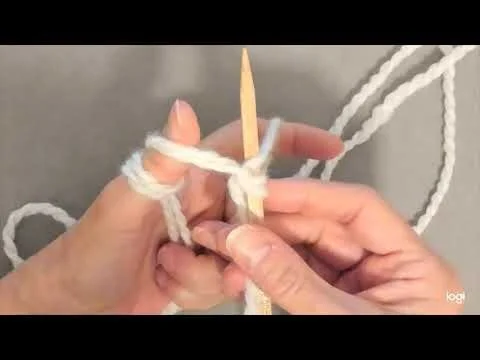
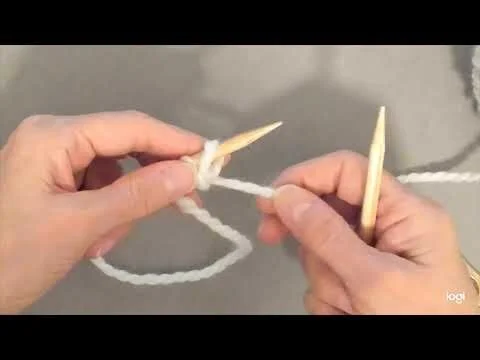
Swatch #1: Rib Cabled Cast On, Lower-Left Sleeve and Picot Bind Off
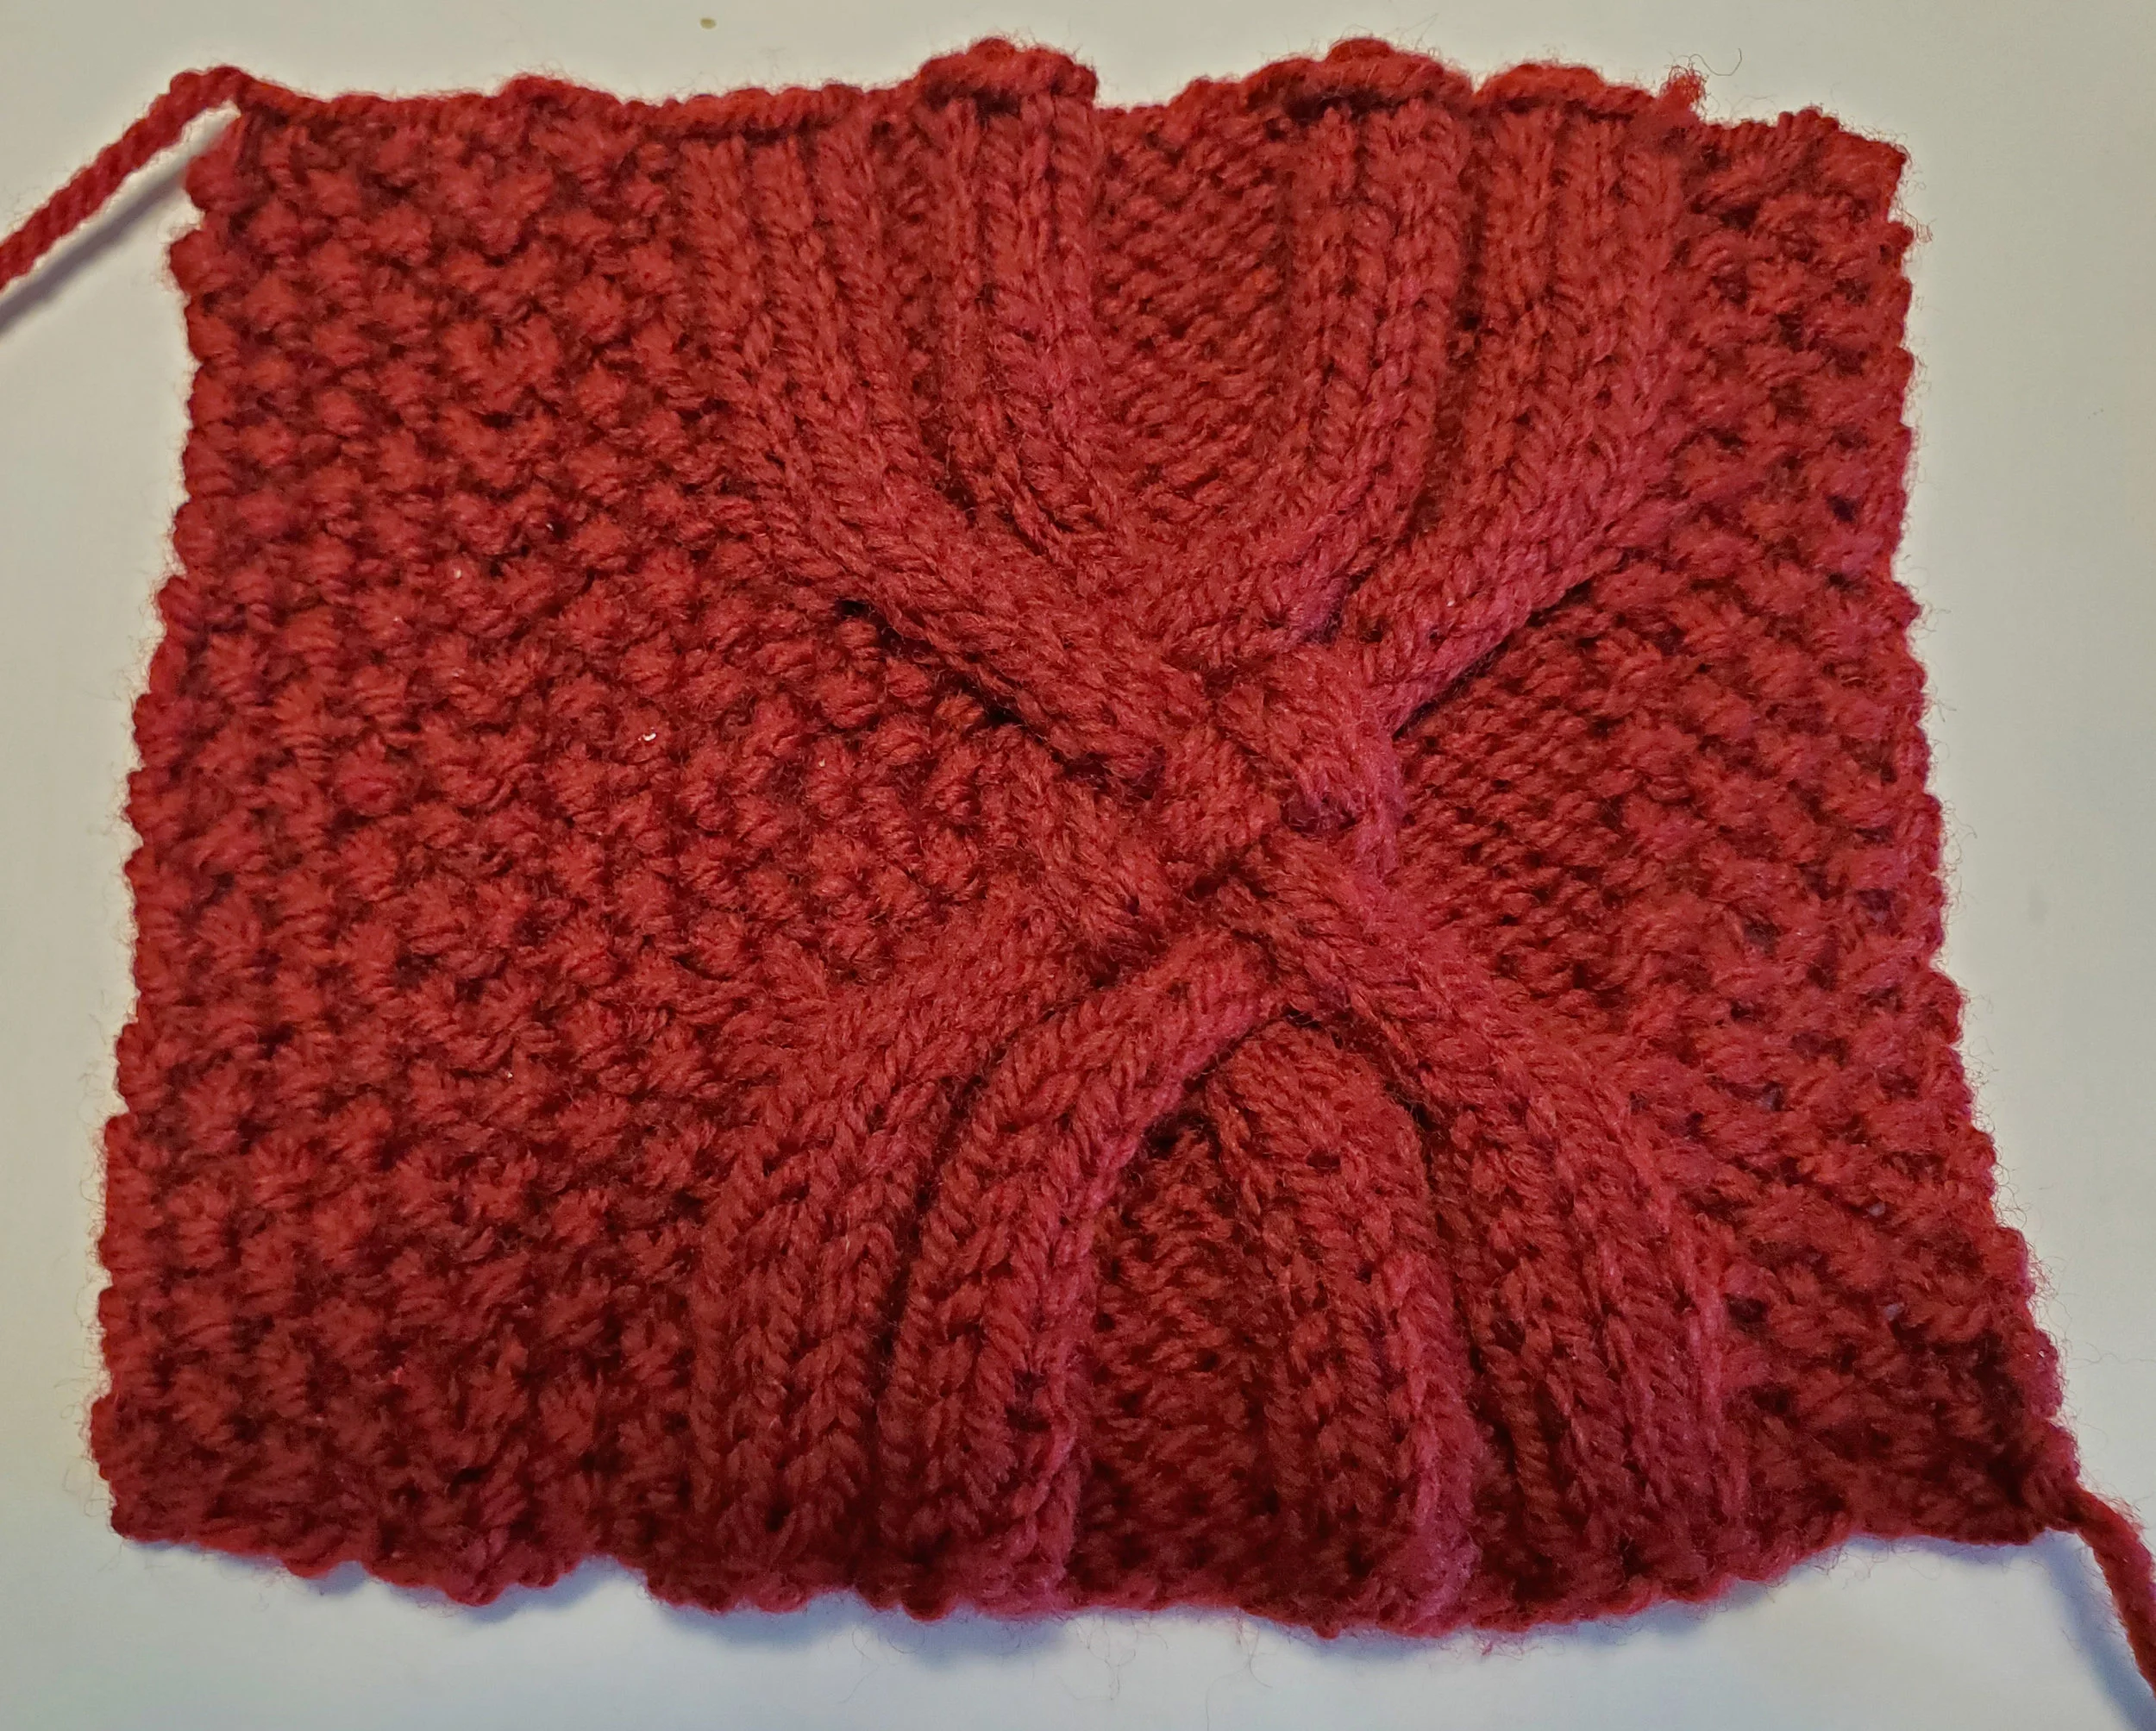
Here’s a photo of the completed swatch: