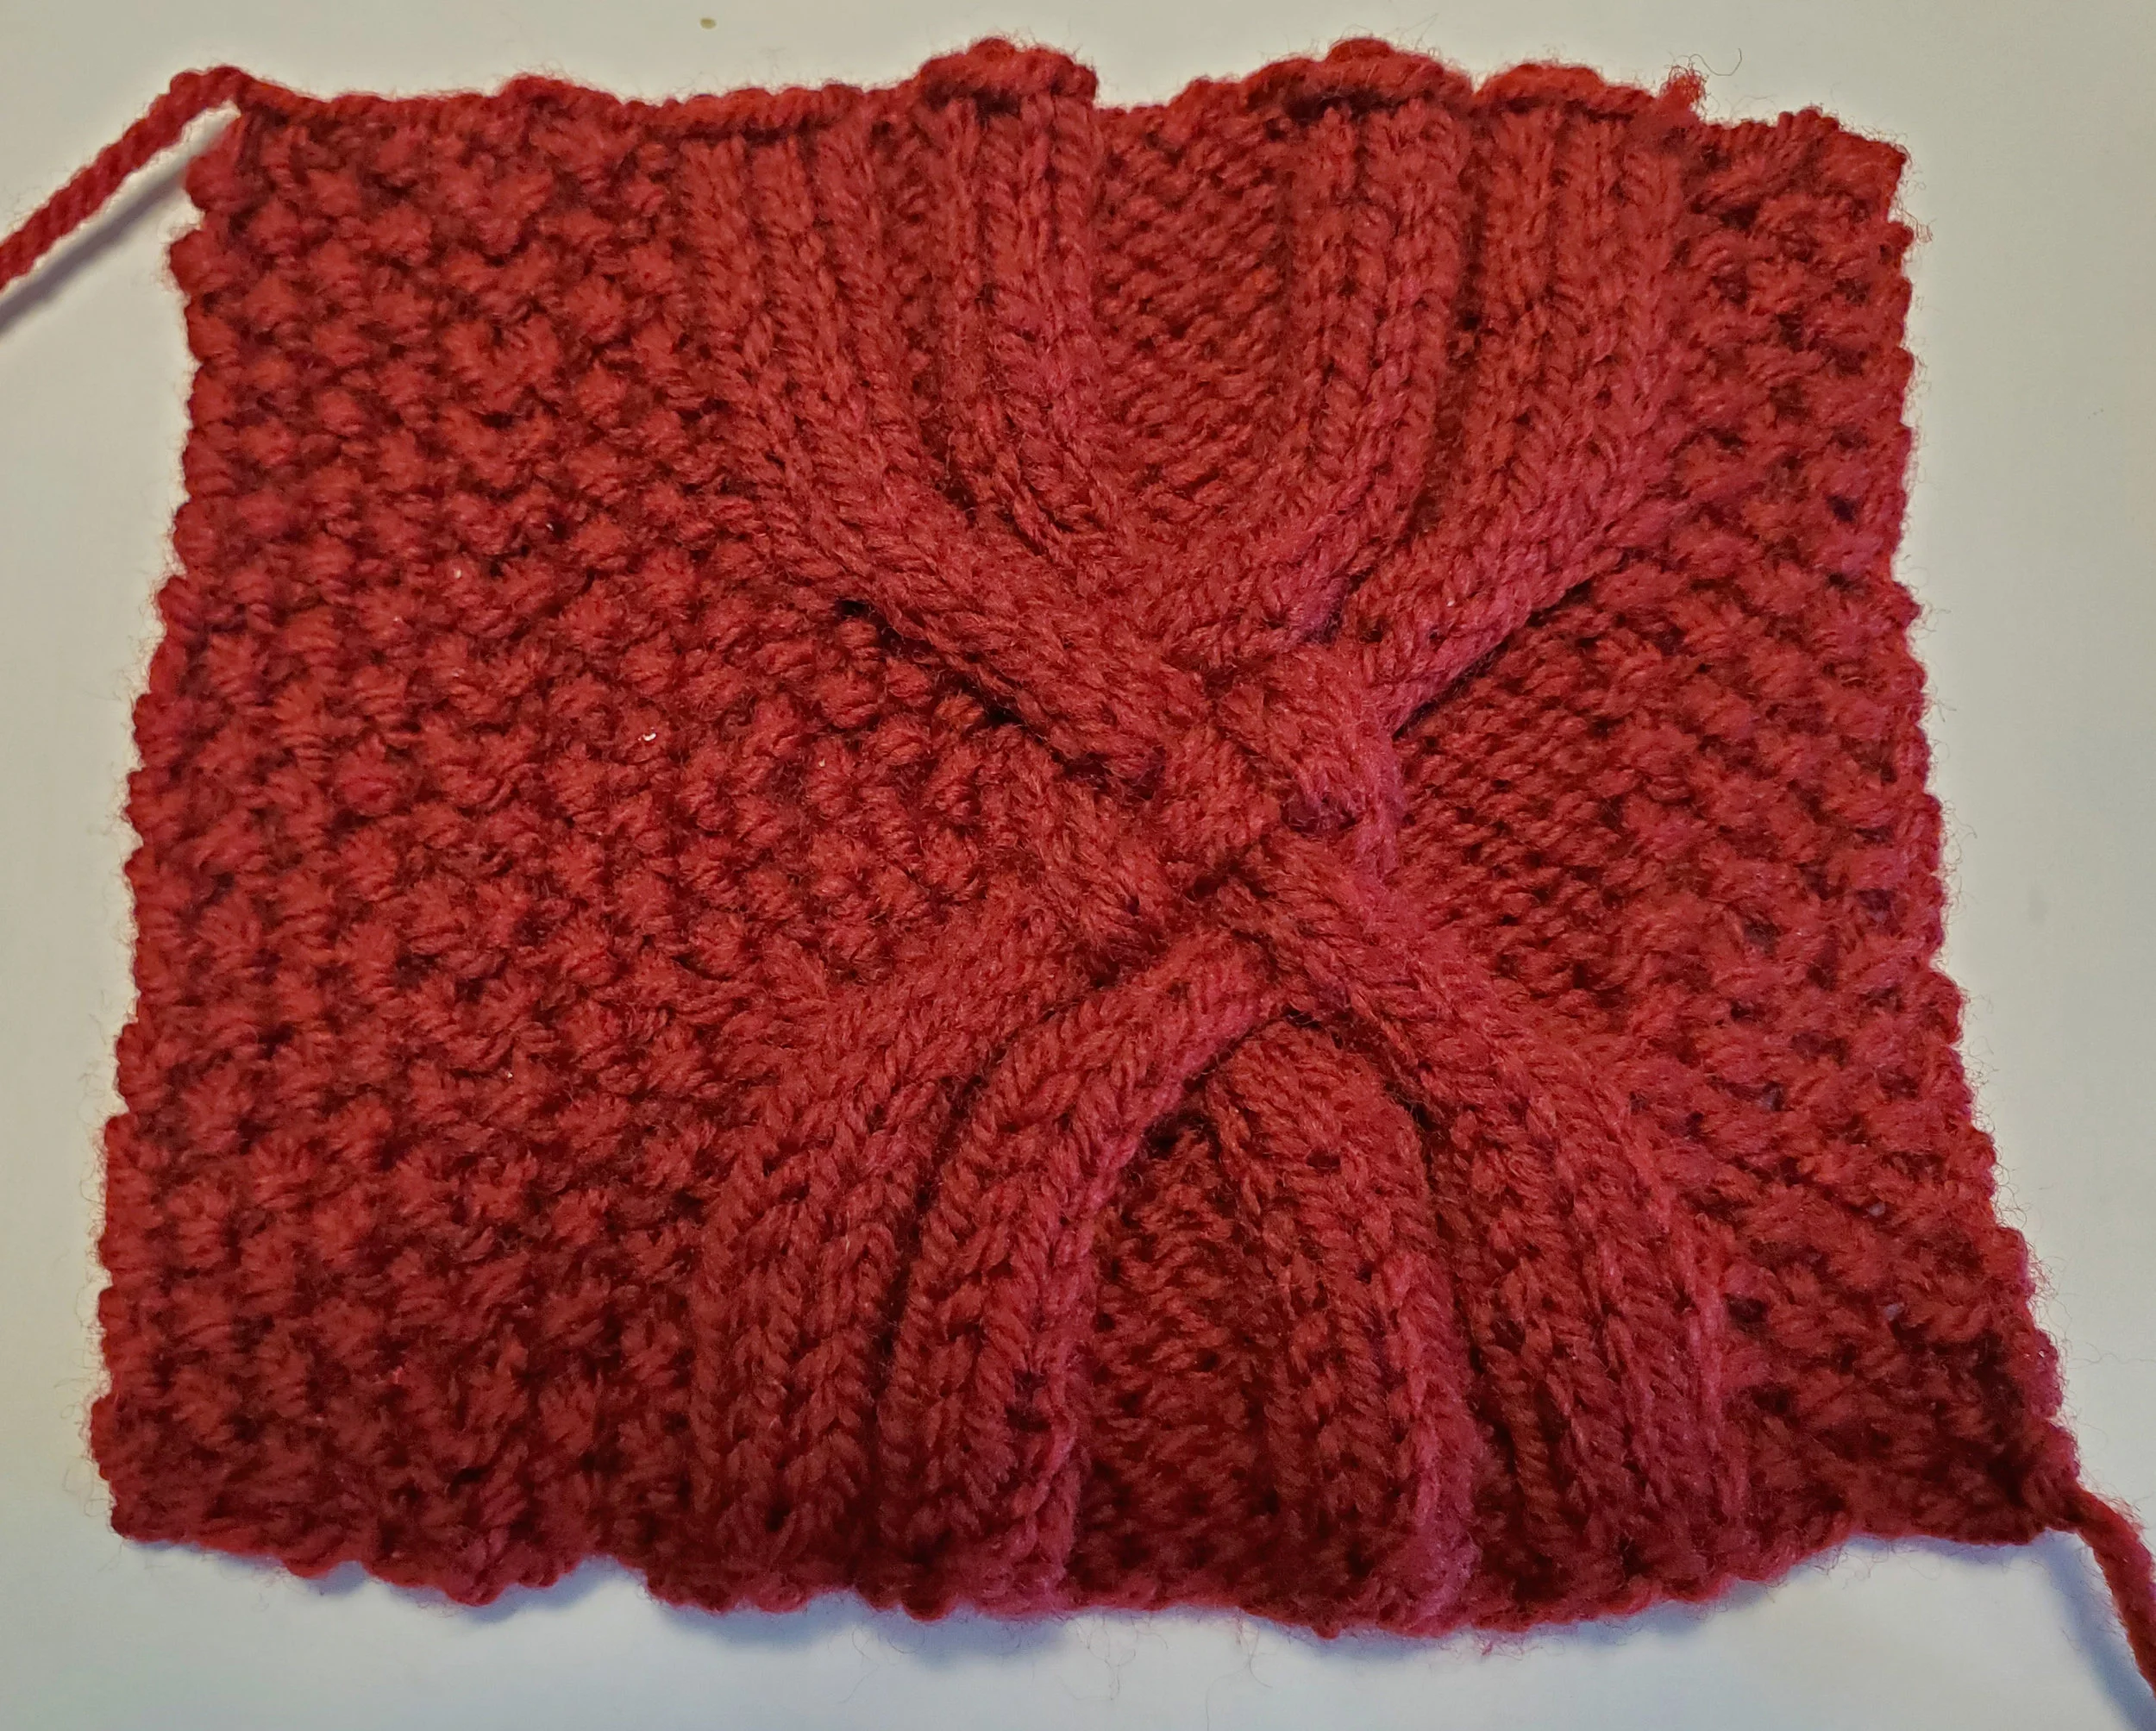
Working Cables without a Cable Needle

Here’s a short video about working cables without a cable needle, my preferred method. I love working cables, but don’t like fiddling with the cable needle. I’m able to work most cable crosses as long as they are a 4 stitch by 4 stitch cross or smaller. For some of the more complicated cable crossings I need to bring out the needle, but for most projects no needle works just fine. Here’s the video followed by some written instructions. Hope you enjoy!

If instruction says “slip to cable needle and hold in BACK”

• Guide your right needle in FRONT of the stitches on your left needle

• Skip over the number of stitches for the cable needle and pick up the next number of stitches to be knit

• Let the two “cable” stitches drop off the right needle to the back and quickly pick them up with your left needle

• Put the stitches you moved to right needle back on the left needle

• Work all the stitches

If instruction says “slip to cable needle and hold in FRONT”

• Guide your right needle BEHIND the stitches on your left needle

• Skip over the number of stitches for the cable needle and pick up the next number of stitches to be knit

• Let the two “cable” stitches drop off the right needle to the front and quickly pick them up with your left needle

• Put the stitches you moved to right needle back on the left needle

• Work all the stitches

Umaro Blanket: Step-by-Step Lace and Cables

This post offers a series of 5 videos for the students in the Umaro class at Hillsborough Yarn Shop in Hillsborough, NC. The Umaro Blanket pattern by Jared Flood contains lace and cables. The following videos show:

Row 1 of the chart, working increases and decreases

Row 2 of the chart, working a wrong-side row

Row 3 of the chart, working increases and decreases and moving markers

Row 7 of the chart, working the cable

Running a lifeline.

Row 1 of the chart, working increases and decreases

Row 2 of the chart, working a wrong-side row

Row 3 of the chart, working increases and decreases and moving markers

Row 7 of the chart, working the cable

Running a lifeline

Geiger Cardigan: Reading Cable Charts

The Geiger Cardigan by Norah Gaughan from Brooklyn Tweed is a highly-cabled cardigan. The pattern contains many, many charts, and knowing how to interpret the symbols without always having to refer to the words will end up making knitting easier and saving you a lot of time.

Here’s a video guide on how to interpret the charts.

Note: This refers to the Geiger pattern. Other patterns my use different symbols. Consult your pattern key.

Geiger Cardigan: Cable Gauge Swatches

Preparing for the Geiger Cardigan, I knitted two swatches. One was based on the Lower Left Sleeve Chart (page 24), and one used the Upper Left-Leaning Cable Chart (page 21).

This post will give instructions for these two different swatches and will show how I measured gauge.

NOTE: The page numbers in the PDF that I downloaded from Ravelry are different from the page numbers in the printed version you may have purchased from your local yarn shop. When in doubt refer to the title text, not the page number.

Swatch #1: Rib Cabled Cast On, Lower-Left Sleeve and Picot Bind Off

Here’s a photo of the completed swatch:

Cable Swatch 1 flip.jpg

Instructions for Swatch #1:

I used US 5 (3.75mm) needle (based on my SS swatch) and Brooklyn Tweed Arbor in Humpback colorway.

  1. Following LEFT SLEEVE instructions on page 17, cast on 71 sts using the Rib Cabled Cast On as described in “Special Techniques” section of the pattern on page 27.

  2. Work “Next Row (RS)”

  3. Work “Next Row (WS)”

  4. Work the WORK RIBBING section:

    1. Work “Next Row (RS)” This is a row with a decrease taking you down to 70 sts.

    2. Work “Next Row (WS)”

    3. Work “Next Row (RS)”

    4. Go back and work “Next Row (WS)” one more time.

  5. Work the BEGIN MAIN FABRIC AND SHAPE SLEEVE section. (Starts at Row 1 of the “Lower Left Sleeve Chart” on page 24.)

    1. Work “Sleeve Increase Row (RS) WITHOUT DOING THE m1 INCREASES.

    2. Work “Next Row (WS)”

    3. Work “Next Row (RS)”

    4. Work “Next Row (WS)”

    5. Repeat steps 3 and 4 until you have completed row 40 of the “Lower Left Sleeve Chart. “

  6. Bind off using the Picot Bind Off method described in the next to the last step on page 19.

  7. Block the swatch and allow to completely dry.

  8. The bottom of the swatch measured across the 56 stitches from the “Lower Left Sleeve Chart” should measure 6 1/2 inches as shown in this photo:

Cable Swatch 1 measured flip.jpg

Swatch #2: Upper Left-Leaning Cable

Here’s a photo of the completed swatch:

Cable Swatch 2 Redux.jpg

Instructions for Swatch #2:

I used US 5 (3.75mm) needles with Brooklyn Tweed Arbor in the Vintner colorway. This is the color I chose for the sweater.

  1. Cast on 38 sts.

  2. (RS) Work 5 sts in seed stitch, place marker, work row 1 of “Upper Left-Leaning Cable Chart,” place marker, work 5 sts in seed stitch.

  3. (WS) Work 5 sts in seed stitch, slip marker, work row 2 of “Upper Left-Leaning Cable Chart,” slip marker, work 5 sts in seed stitch.

  4. Continue working “Upper Left-Leaning Cable Chart” bounded by 5 stitches of seed stitch on each end until you have completed 32 rows of the chart.

  5. Bind off in pattern.

  6. Block and allow to dry completely.

  7. The bottom of the chart should measure 3 inches wide across the 28 stitches in the “Upper Left-Leaning Cable Chart” as shown in this photo below:

Cable Swatch 2 Redux measured.jpg

Sammal Cardigan - Cables without a needle (video)

I'm currently teaching a class at Hillsborough Yarn Shop working on Sammal by Joji Locatelli. The cardigan has two cable bands that run down the front of the sweater. 

One of my students suggested that I create a video showing how to work cables without using a cable needle. Here it is. Please let me know if it's helpful or provide any suggestions in the comments section of this blog.