Field Guide #16: Intarsia (Fix and Weave)

I’m starting a video knit along today using Modern Daily Knitting’s “Field Guide #16: Painterly.” This guide features four Intarsia Patterns designed by Kaffe Fassett.

This is the third of three videos on Intarsia. This video covers how to fix mistakes and weave in ends. The first video show how to prepare your yarn to start an Intarsia project, and the second covers the Intarsia technique.

Field Guide #16: Intarsia (Technique)

I’m starting a video knit along today using Modern Daily Knitting’s “Field Guide #16: Painterly.” This guide features four Intarsia Patterns designed by Kaffe Fassett.

This is the second of three videos on Intarsia. This video covers the Intarsia technique. The first video covered how to prepare your yarn to start an Intarsia project, and the third covers how to fix mistakes and weave in ends.

Colorwork: Two-color Stranded Knitting

Greetings!

Since we’re still in lock-down for the pandemic, I’m not able to teach classes at my local yarn store (Hillsborough Yarn Shop in Hillsborough, NC). So, I’ve started a knit-along on the Bousta Beanie and Beret by Gudrun Johnston on Zoom. This video is for my students to get a good close-up look at how to work stranded knitting holding two colors of yarn, one in each hand. I also offer some other options for knitting with two colors.

I seem to be a little directionally challenged and noticed one place where I called my left hand my right. I have full confidence that viewers are much better at telling left from right than I am, and that you’ll forgive occasional errors on my part. Thank you, and enjoy the video.

Galloway Cardigan - Knitting a Speed Swatch (Video)


This post shows a video of how to do a speed swatch. 

For the Galloway Cardigan, knit two separate speed swatches for the Lice Stitch section and the Colorwork section of the sweater. Block and measure the swatches. If either or both of them do not meet gauge, rework the swatch(es) until you end up with swatches that meet gauge. Make not of the needle sizes. 

For both swatches, cast on 29 stitches (6 st repeat x 3, + 7, plus 4 selvage stitches, two on each end.)

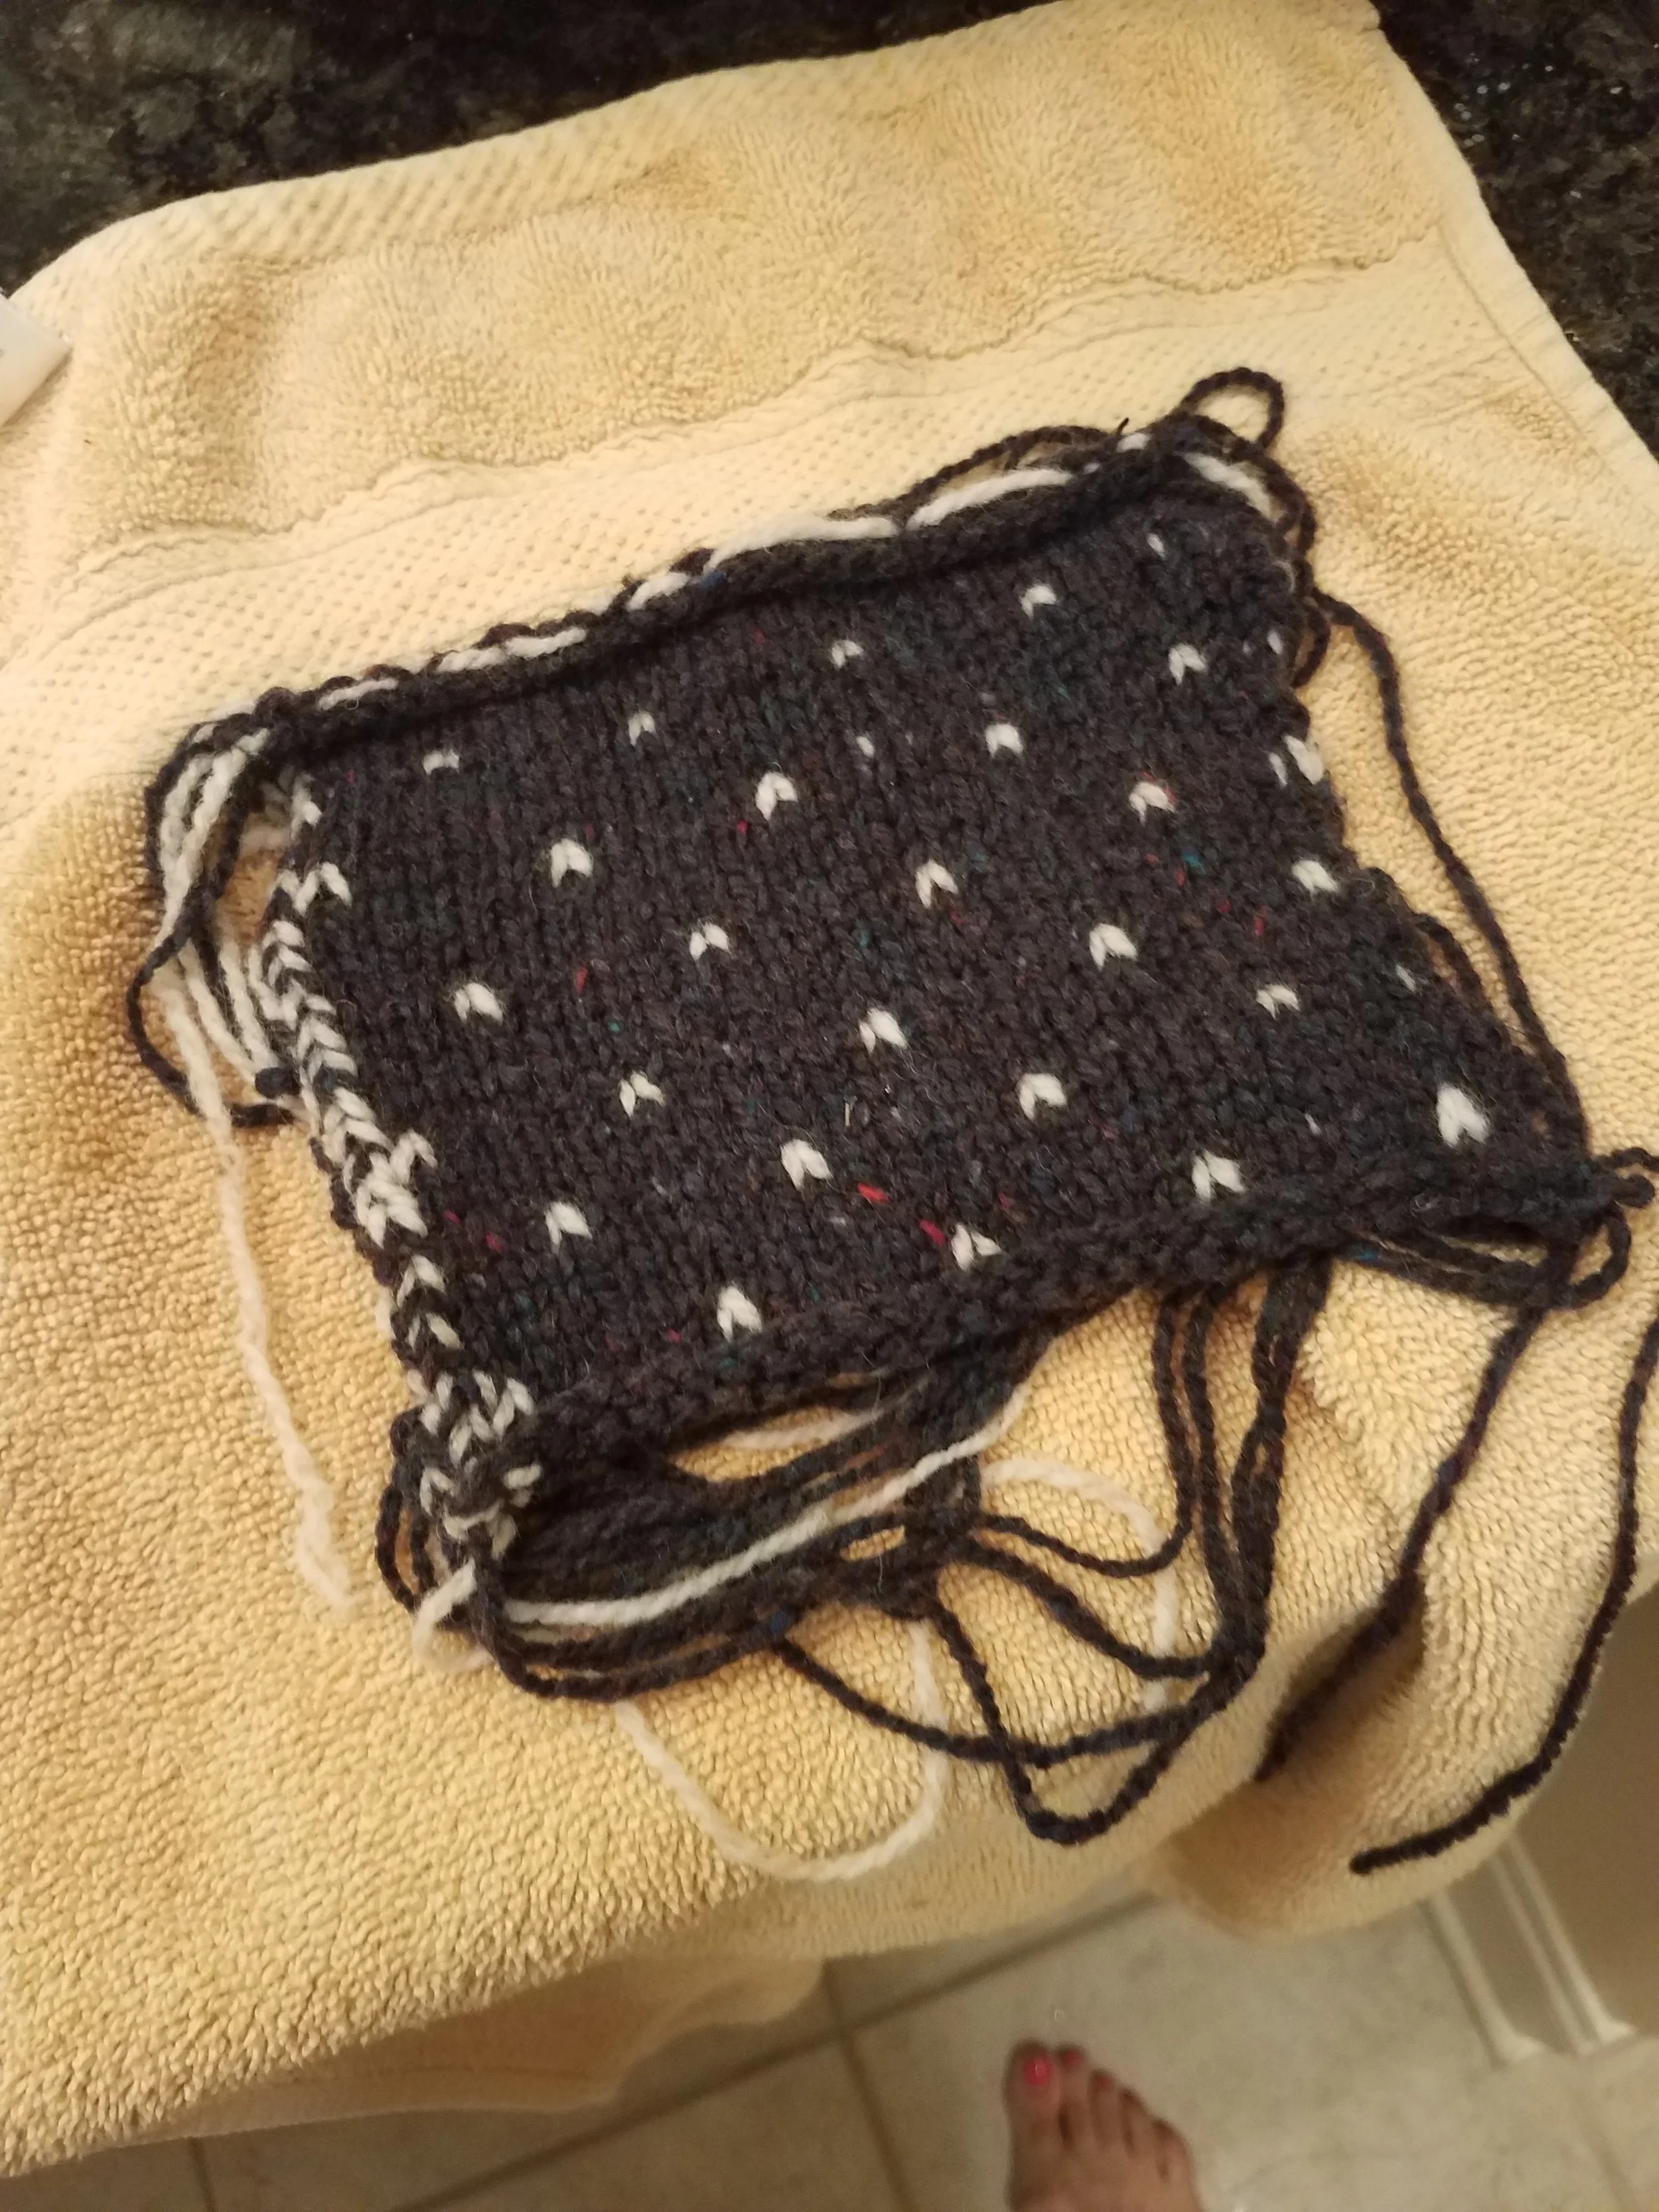
For the Lice Swatch, follow the chart on page 15 of the pattern rows 19 through 28. Knit those rows a total of 4 times. For every row you're using both colors on, knit the first two stitches with both colors, work the pattern, and then work the last two stitches using both colors. Carry both colors across the back and then knit the first two stitches on the next row with both colors. Knit the solid color rows using only one color --- do not carry the other color along the back of the solid color rows. 

For the Colorwork Swatch, follow the chart on page 15 of the pattern rows 36 through 63 one time. Here's how to deal with the selvage stitches when you changes colors between rows. 

For row 1, using colors A and B, knit the first two stitches using both colors, then work the chart, and then work the last two stitches using both colors. Carry both colors across the back and then knit the first stitch using colors A and B. Knit the second stitch using colors A and C, dropping color B. Work the chart and knit the last two stitches in A and C. Carry A and C across the back, knit the first stitch of the next row in A and C. Proceed in this same fashion. 

Be sure to respect color dominance.  The dominant color in the chart on page 15 should be held in your left hand if you're knitting using a color in each hand. 

Also, watch the video on how to capture your floats. There are also a couple of blog posts with step by step instructions and photos of how to measure gauge. 

Galloway Cardigan - Colorwork Swatch (measuring step-by-step)

The colorwork swatch for the Galloway Cardigan has finished drying. A couple of reminders --- I cast on 29 stitches and worked rows 36 through 63 of the colorwork chart. The pattern gauge calls for 20 stitches and 22 rounds in colorwork per 4 inches. 

Step 1: Setting borders for measuring. I sewed bright red contrast yarn at: (A) the bottom of a row of stitches at the top of the swatch (B) the top of a row of stitches at the bottom of the swatch (C) the right of a column of stitches on the right side of the swatch (D) the left of the column of stitches on the left side of the swatch. 

These will act as borders for measuring. Notice that the threads are sewn in about 3 or 4 stitches from the border. Border stitches are normally irregular, so it's important to measure in a few stitches to get an accurate measurement. 


Colorwork Swatch Measure 1 with letters.jpg

Step 2: Measuring for stitch gauge. I usually measure with an opaque ruler.  

Colorwork Swatch Measure 3.jpg
  • Lay the ruler evenly over a row of stitches near the middle of the swatch.

  • Measure from left side to right side and don't include the contrast thread.

  • Make note of this measurement in inches up to an eighths of an inch. In my example here, my swatch measures 4 7/8 inches or 4.875 inches.

Step 3: Count stitches. 

  • Count the number of stitches between your left and right border. Sometimes it helps to follow a column of stitches with your eye as you count.

  • You should have woven your contrasting yarn along the edge of a column of stitches. If you by chance wove one of them through the middle of a column of stitches, be sure to count the half stitch that you bisected with the contrasting yarn.

  • Make note of this number of stitches. In my example here, I counted 23 stitches.

Colorwork Swatch Measure 3 zoom with numbers.jpg

Step 4: Calculate stitches per ONE inch: Even though gauge in the pattern is measured in 4 inches, I knit a swatch wider than 4 inches. The bigger your swatch, the more accurate your measurements, because you are counting over a larger sample. To calculate gauge: 

  • Divide your number of stitches (in my case, 23) by measured inches (in my case, 4.875)

  • This gives you stitches per ONE inch. (in my case, 4.718 stitches per one inch)

Step 5: Calculate stitches per FOUR inches:

Calculating stitches per four inches is easy. Just multiply your stitches per one inch (in my case, 4.718) by 4 inches. In my example this comes out to 18.87 stitches per FOUR inches. 

The pattern gauge is 20 stitches per four inches, so I'm not meeting pattern gauge. 

Why stitch gauge is important:

Let's take an example from our pattern. For the smallest size, after you finish the bottom ribbing, you have 216 stitches in the garment. If you are getting the pattern gauge of 20 stitches per 4 inches (or 5 stitches per inch), at this point your garment would measure 43.2 inches (216/5) (this would be without the button band). At my gauge of 18.87 stitches per 4 inches (or 4.718 stitches per inch), my garment would measure 45.78 inches (216/4.718). This would be 2.5 inches bigger than the pattern calls for. 

I am getting LESS stitches per 4 inches than the pattern calls for. If I want to squeeze more stitches into 4 inches, I will need to have smaller stitches, which means I need to go down a needle size. 

I like to use ping pong balls (stitches) in a box (an inch) to explain this.  The pattern says I should have 5 ping pong balls in my box. I can only fit 4.72 ping pong balls in my box. They're too big. If I want to fit my ping pong balls in the box, my ping pong balls need to be smaller. I need to use a smaller needle. 

stitches per inch.jpg

Step 6: Measuring row (round) gauge

  • Lay the ruler evenly over a column of stitches near the middle of the swatch.

Colorwork Swatch Measure 2.jpg
  • Measure from top to bottom and don't include the contrast thread.

  • Make note of this measurement in inches up to an eighths of an inch. In my example here, my swatch measures 4 3/8 inches or 4.375 inches.

Colorwork Swatch Measure 2 zoom with numbers.jpg

Step 7: Count rounds 

  • Count the number of rounds between your top and bottom border. Sometimes it helps to follow the color chart provided with the pattern.

  • Make note of this number of rows. In my example here, I counted 23 rounds.

Step 8: Calculate rounds per ONE inch: Even though gauge in the pattern is measured in 4 inches, I knit a swatch taller than 4 inches. The bigger your swatch, the more accurate your measurements, because your counting over a larger sample. To calculate round gauge: 

  • Divide your number of rounds (in my case, 23) by measured inches (in my case, 4.375)

  • This gives you rounds per ONE inch. (in my case, 5.26 rounds per one inch)

Step 9: Calculate stitches per FOUR inches:

Calculating rounds per four inches is easy. Just multiply your rounds per one inch (in my case, 5.26) by 4 inches. In my example this comes out to 21 rounds per FOUR inches. 

The pattern gauge is 20 rounds per four inches, so I'm not meeting pattern gauge. I'm not going to change my needle size based on this, but in parts of the sweater that involve length (arms, specifically), I'll recheck my round gauge again and decide if I need to knit less rounds. 

Both on my Lice Stitch swatch and my Colorwork swatch, it looks like I'm getting a similar stitch gauge, so I may be able to use the same needle for both. I'm going to concentrate now on getting the correct gauge and I'll report back soon on what I decided. 

Galloway Cardigan - Colorwork Swatch (knitting and blocking)

Here are some photos of the Galloway Cardigan Colorwork swatch being knitted and blocked. The post after this one will cover step-by-step measuring the swatch and calculating gauge. 


galloway colorwork 1.jpg

This is the front side of the swatch after it has been knit.  I cast on 29 stitches. That includes 3 repeats (6 x 3 = 18) plus 7 with 4 (2 + 2) edge stitches. The speed swatch instructions say to knit the first two stitches and the last two stitches using the two colors doubled up. 

I knit the first stitch with the two strands that I brought across the back from the previous row. I knit the second stitch with the two colors that I will be working for the new row. I knit the last two stitch in the two colors that end that row. 

For this swatch I worked rows 36 through 63. I'm not sure if I got the colors right because the pattern has the chart in shades of gray. I decided to make a new chart using Excel and my real colors so that I won't get confused as I knit. 


Delft Chart.jpg
galloway colorwork 2.jpg

This is the back of the colorwork swatch after knitting.

Following is the colorwork swatch pinned out for blocking and drying. 

galloway colorwork 8.jpg

Galloway Cardigan - Lice Swatch (measuring)

My Lice Stitch swatch for the Galloway Cardigan finished drying, and I'm ready to measure for gauge. This post will take you through the process of measuring the swatch and calculating gauge. 

First I start out by sewing a contrasting yarn into the borders of the swatch to use as measuring guides. One strand through the stitches at the top of the swatch:

galloway lice lines 1.jpg
galloway lice lines 2.jpg

One strand through the stitches at the bottom of the swatch.

galloway lice lines 3.jpg

One strand through the right side of a column of stitches running up the right side of the swatch.

galloway lice lines 5.jpg

One strand through the left side of the column of stitches running up the left side of the swatch:

galloway lice lines 6.jpg

Next I measured for stitch gauge. I put a ruler across the middle of the swatch lining the zero up against the left border and following a line of "lice" in a straight line.  My ruler is only 5 inches, and my swatch is wider than 5 inches, so I just counted how many stitches I have in 5 inches. 


galloway lice measure 1.jpg

I count 22 and 1/2 stitches in 5 inches. Here is a picture showing the individual stitches:

galloway lice measure 1 with stripes.jpg

So, here's how I calculate gauge. I want to figure out stitches per inch, so I divide the stitches I counted (22.5) by the inches I measured (5) and get 4.5 stitches per inch.  The gauge stated in the pattern is 20 stitches per 4 inches.  So I need to multiply my stitches per ONE inch by 4. I get 18 stitches per 4 inches (4.5 stitches per inch times 4). I knit this swatch with a size 7 needle. I am getting less stitches per inch than the pattern calls for. This means that my stitches are BIGGER that the pattern gauge. Since my stitches are bigger, I can fit LESS of them in 4 inches. I'm going to need to switch to a smaller needle, so that my stitches are SMALLER and I can fit MORE of them in 4 inches. I'm going to pull out the yarn in this swatch and knit another with a size 6 needle. 

In any pattern, the stitch gauge determines how wide your piece will be, and you generally want to match stitch gauge to the pattern. The row gauge determines the length of your garment. If you don't meet the pattern row gauge, you can generally knit more or less rows in the pattern to have it come out to the length you want. I'll show you my row gauge measurement here and how I calculate it, but this gauge won't determine which needle size I use. 

galloway lice measure 2.jpg

I count 27 rows in 4 inches, which is 6.75 rows per inch.  The pattern calls for 28 rows per inch. 

So, I'm off to re-swatch the lice pattern. 

Galloway Cardigan - Lice Swatch (knitting and blocking)

Today I started on the Galloway Cardigan by Jared Flood. This is a lovely and complex pattern that requires THREE gauge swatches to determine needle size. The first swatch is done in the Lice section of the Galloway chart and should be 20 stitches & 28 rounds = 4". The recommended needle size is US 7 (4.5mm). 

The pattern repeat is 6 stitches +7. I wanted to do a swatch bigger than 20 stitches, so I calculated 18 stitches + 7 stitches for the repeat, plus the 4 extra stitches (2 on each side) that Jared instructs in the Speed Swatching section of the pattern.  

I cast on 29 stitches using a US 7 needle, and followed the Speed Swatching instructions. I left VERY LONG floats in the back of the swatch, because I want to have the ability to reuse the yarn if I run short. Jared's instructions talk about cutting the yarn in back before blocking, but I know that if I cut the yarn, it will no longer be useable. 

galloway_lice_swatch_1.jpg

I used Old World (dark blue - Color A) and Fossil (natural- Color B) colorways. I only carried the Fossil in the back of the rows where the lice occur. When not in use, I carried the Fossil with the Old World up the right hand side and used them together to knit the first two stitches of each row. 

galloway_lice_swatch_3.jpg

Here's the front and the back of the swatch as it gets further along. There is a 5-stitch float between each Lice stitch. I've been catching it behind the third stitch. I'm a little bothered that I can see the capture peeking through the front of the fabric. I'll see what it looks like after I block to decide if I just want to let the float go all five stitches. 

galloway_lice_swatch_4.jpg
galloway_lice_swatch_5.jpg

I knit 35 rows (3 and a half vertical repeats) and bound off. This is what the finished front and back look like: 

galloway_lice_swatch_6.jpg
galloway_lice_swatch_7.jpg

I put the swatch in my bathroom sink with cold water and a capful of Eucalan. I let the swatch sit for about 15 minutes, then carefully lifted it out and gently squeezed out the excess water. 

galloway_lice_swatch_8.jpg
galloway_lice_swatch_9.jpg

I put the swatch on a towel, rolled it up and squeezed out as much water as I could. 

galloway_lice_swatch_10.jpg
galloway_lice_swatch_11.jpg

I pinned the top, then the bottom, then the sides of the swatch to the blocking board in 1-inch intervals

galloway_lice_swatch_12.jpg
galloway_lice_swatch_13.jpg
galloway_lice_swatch_14.jpg

I folded the floats under the swatch as I was pinning.  I'll let the swatch dry for about 36 hours. Then I'll unpin it and measure the gauge. That will be covered in a future post.

The swatch used 13 grams of Old World and 3 grams of Fossil.   

Let me know if this helps or if you have any questions in the comments.